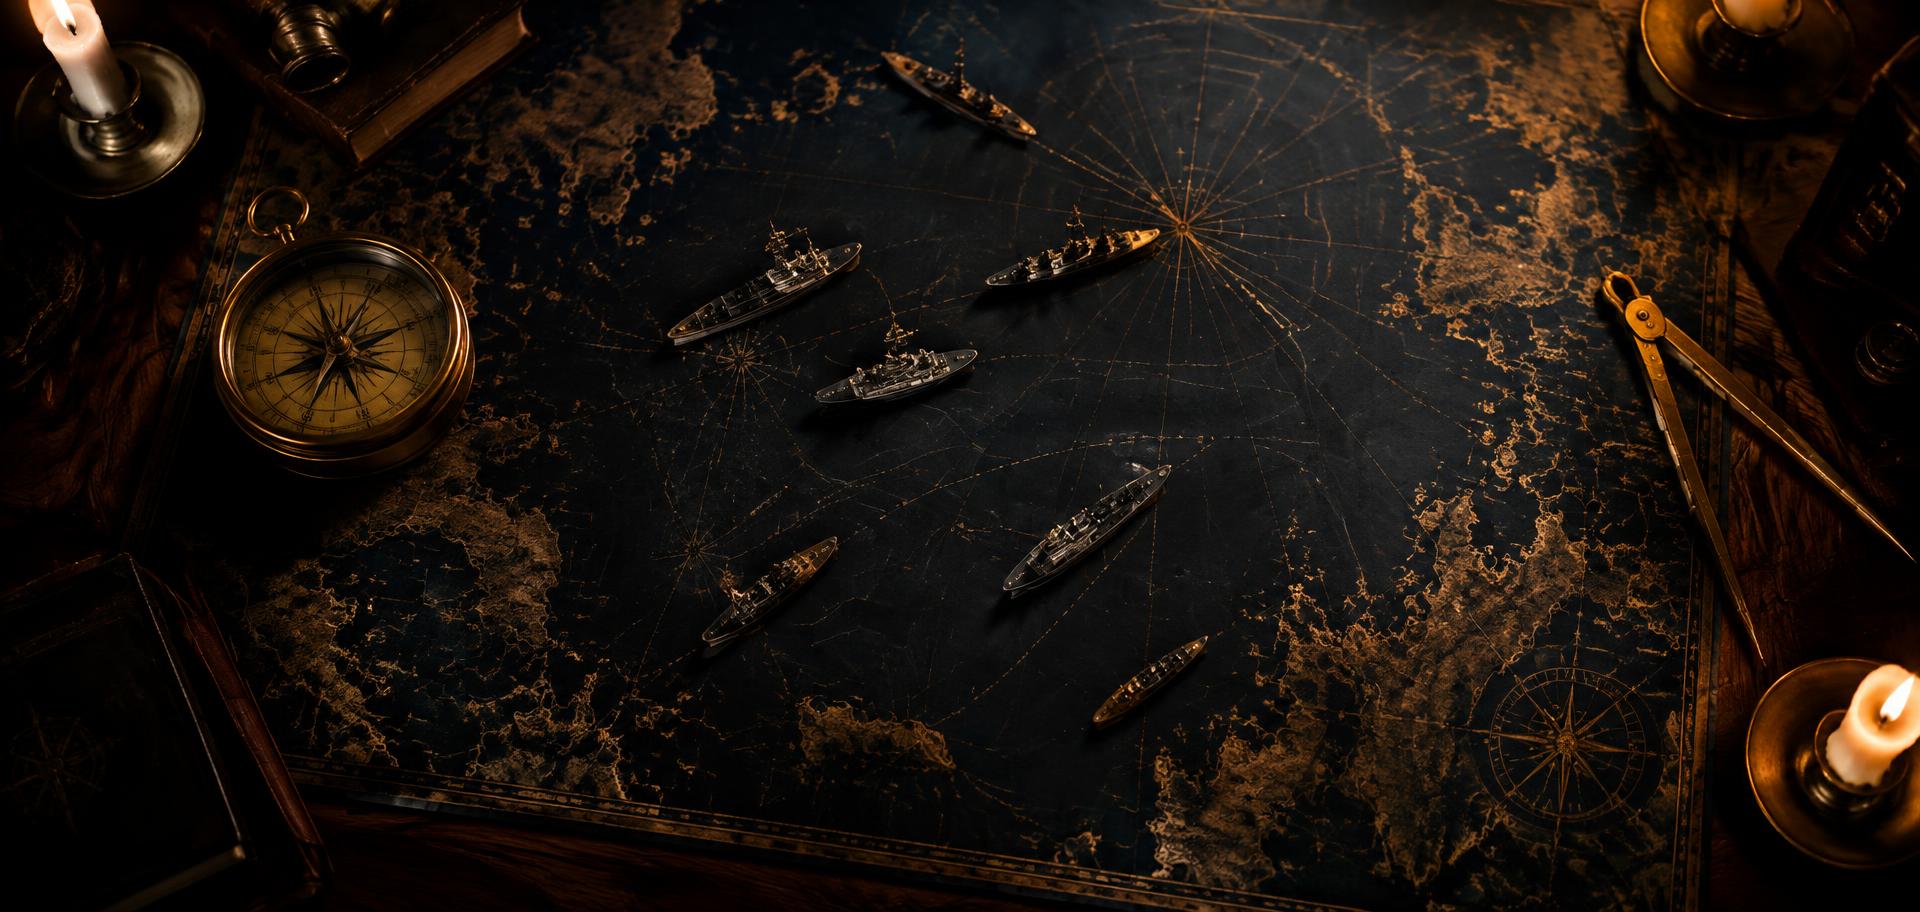
SSC Tactical Handbook
Map Control
Control the map. Control the battle.
Introduction
More than capturing objectives
Map control is not simply about capturing objectives.
Map control is the ability to influence where the enemy can safely move, while preserving your own team's ability to move, attack and reposition.
Every ship projects a zone of influence through its guns, torpedoes, concealment, radar, hydro, aircraft or other tools. These zones become much more powerful when combined with allied ships and reliable vision.
Good map control means controlling important areas, creating crossfires, denying enemy movement, maintaining vision and forcing the enemy to make difficult decisions.
Map control is dynamic. It changes constantly as ships are destroyed, repositioned, detected or forced away from an area.
A team does not need to physically occupy every part of the map. Sometimes controlling an area simply means making it too dangerous for the enemy to enter.
The minimap is therefore one of the most important tactical tools in the game. Constantly read enemy positions, last-known locations, allied positions, capture progress and open areas where neither team currently has effective influence.
Core concepts
Six pillars of control
Vision
Know where the enemy is before committing.
Positioning
Place your ship where it can influence the battle without becoming trapped.
Crossfires
Create multiple attack angles so enemies cannot comfortably angle against everyone.
Area denial
Use radar, hydro, torpedoes, aircraft, guns and threat to make areas dangerous.
Pressure
Force the enemy to give ground or expose themselves.
Survival
A living ship continues to project influence. Losing your ship removes your influence from the map.
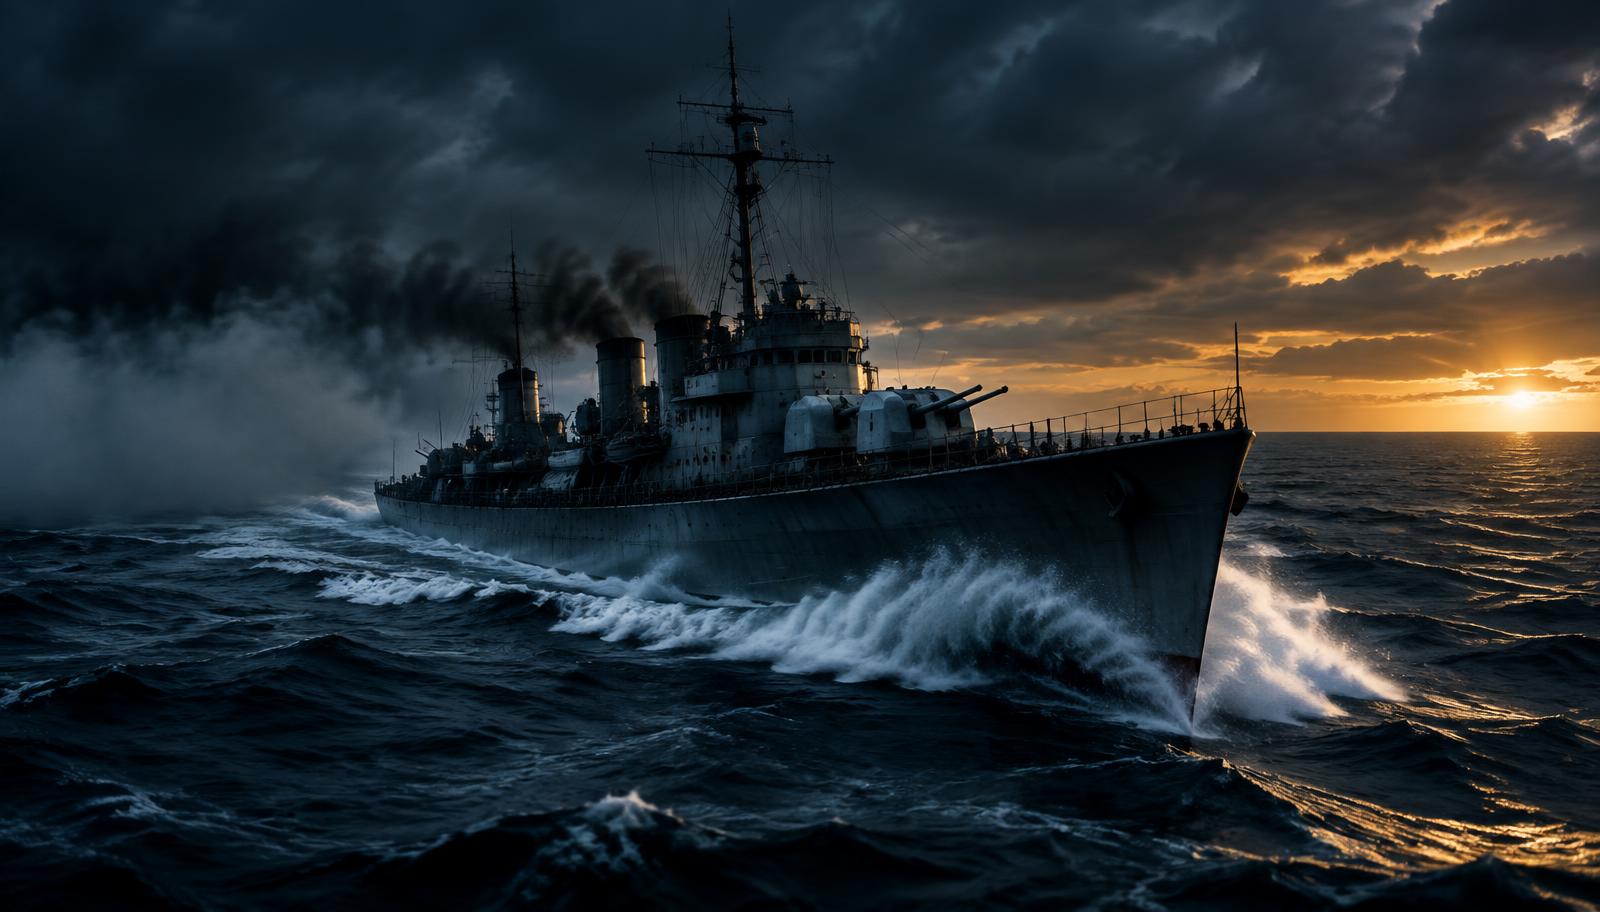
Destroyer
Vision • Caps • Area denial
Destroyers are the fleet's primary eyes and one of the most important tools for controlling territory. Their combination of concealment, speed, maneuverability, torpedoes and utility allows them to influence areas without necessarily being seen.
Do not treat the nearest capture zone as an automatic objective. First determine where the enemy destroyer is, which enemy ships can support it, and whether radar or hydro threatens your position. A surviving destroyer that denies an enemy DD freedom can be more valuable than a destroyer that takes an early cap and dies.
Use concealment and islands to control vision. Torpedoes can deny routes, narrow passages and predictable approaches even when they do not hit anything. Once the enemy DD is weakened or destroyed, your team's freedom to occupy the map increases dramatically.
Rotate between objectives when the battle changes. Keep checking the minimap and last-known enemy positions.
Think
- Vision first.
- Survival second.
- Pressure third.
- Capture when the situation is favorable.
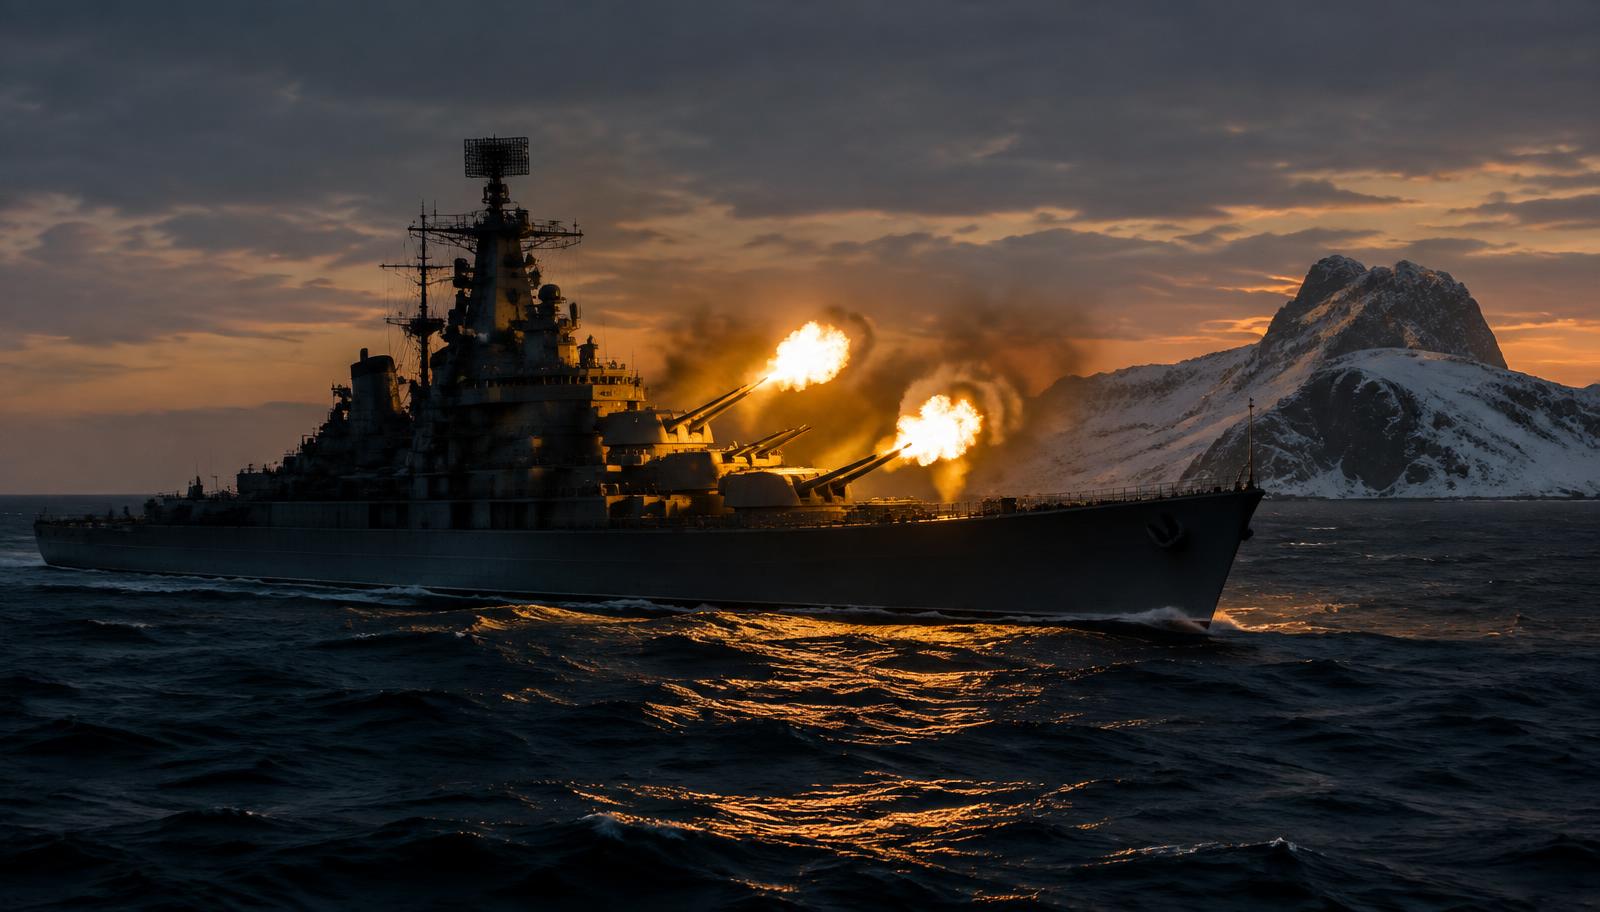
Cruiser
Support • Radar • Crossfires
Cruisers turn information into pressure. Their combination of guns, concealment, radar, hydro, mobility and island positioning allows them to support destroyers and punish enemy movement.
A cruiser should position close enough to influence the fight but not so far forward that one detection results in catastrophic damage. Before taking a position, ask where the enemy battleships are, where the enemy destroyer is likely to appear and where you can retreat if the flank collapses.
Radar cruisers can control capture zones by threatening destroyers through islands and smoke. Hydro can make island approaches and torpedo lanes safer.
Do not remain permanently behind one island simply because it provides cover. Map control changes. When your flank advances, your position may need to advance with it. When your flank loses ground, kite away while continuing to apply pressure.
Look for crossfires. Your best position is often one that attacks an enemy from an angle different from your allied battleships.
Your objective is not simply damage farming. It is making enemy movement increasingly difficult while remaining alive.
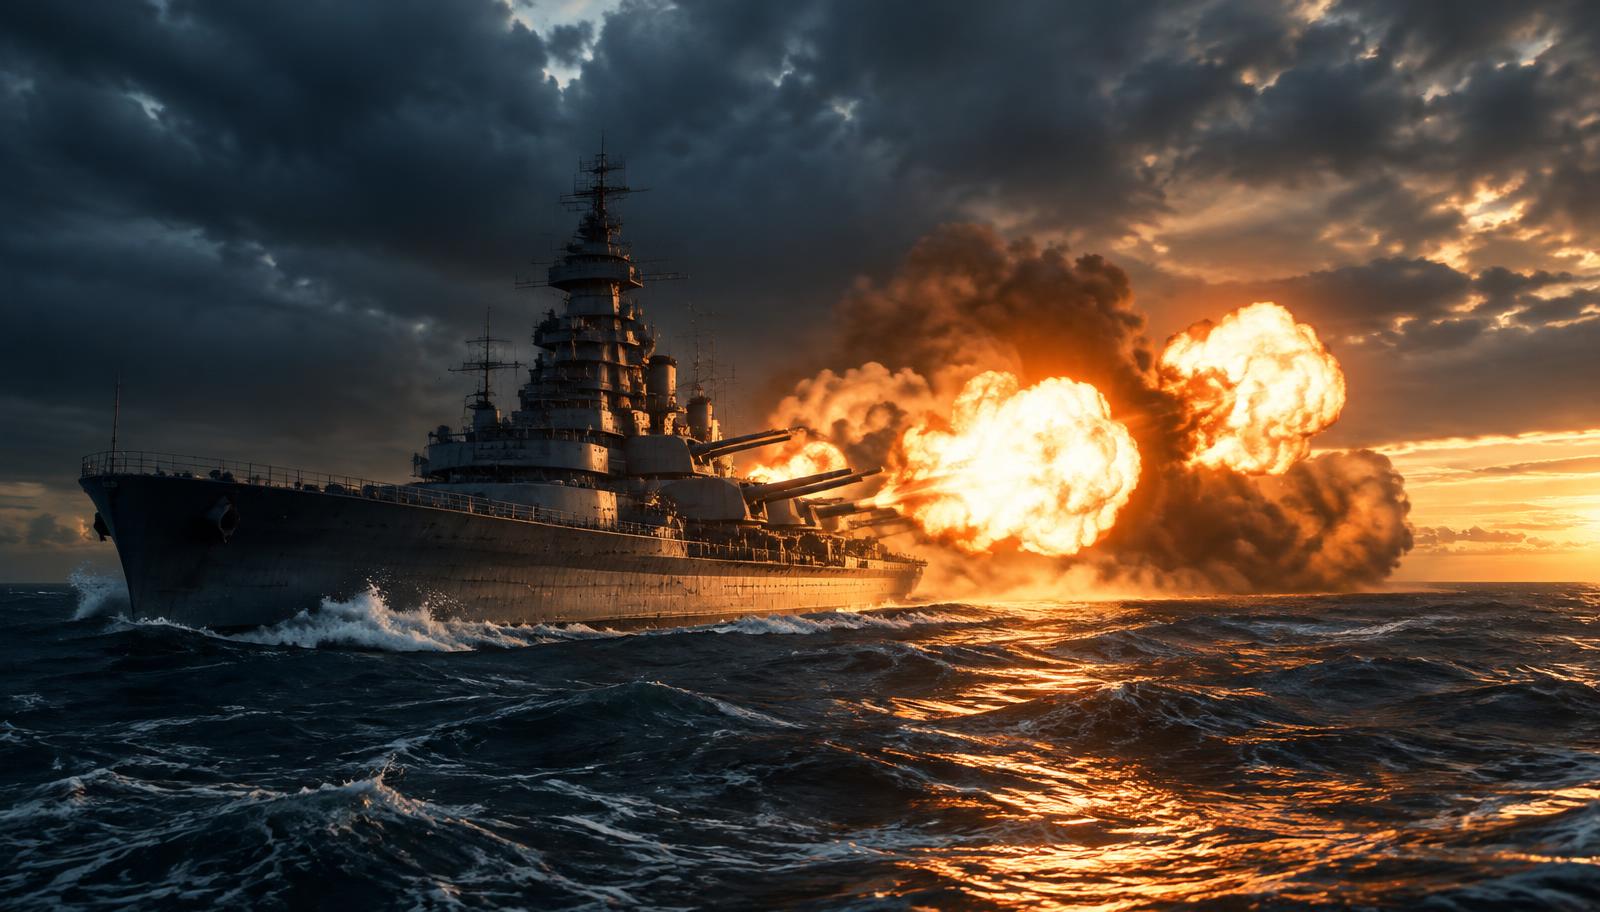
Battleship
Pressure • Crossfire • Territory
Battleships project some of the largest zones of influence on the map. Their guns, armor and range allow them to control territory simply by threatening the ships that enter their firing area.
The mistake is confusing map control with rushing forward. A battleship should first gather information about enemy deployment and determine where allied support exists.
Do not commit before you understand the positions that can punish you. Look for positions where terrain protects one side while your guns control another. Avoid stacking directly beside several allied battleships when spreading out would create better firing angles.
Crossfires are extremely important. If the enemy can angle against you and your teammates simultaneously, your firepower is less effective. If allied ships attack from different directions, the enemy must expose a weakness to someone.
When an enemy flank collapses, take the space they abandoned instead of automatically chasing kills. When your flank begins losing, start withdrawing before you become trapped.
Your HP is future map control.
A battleship that survives can influence several areas of the map throughout the entire battle.
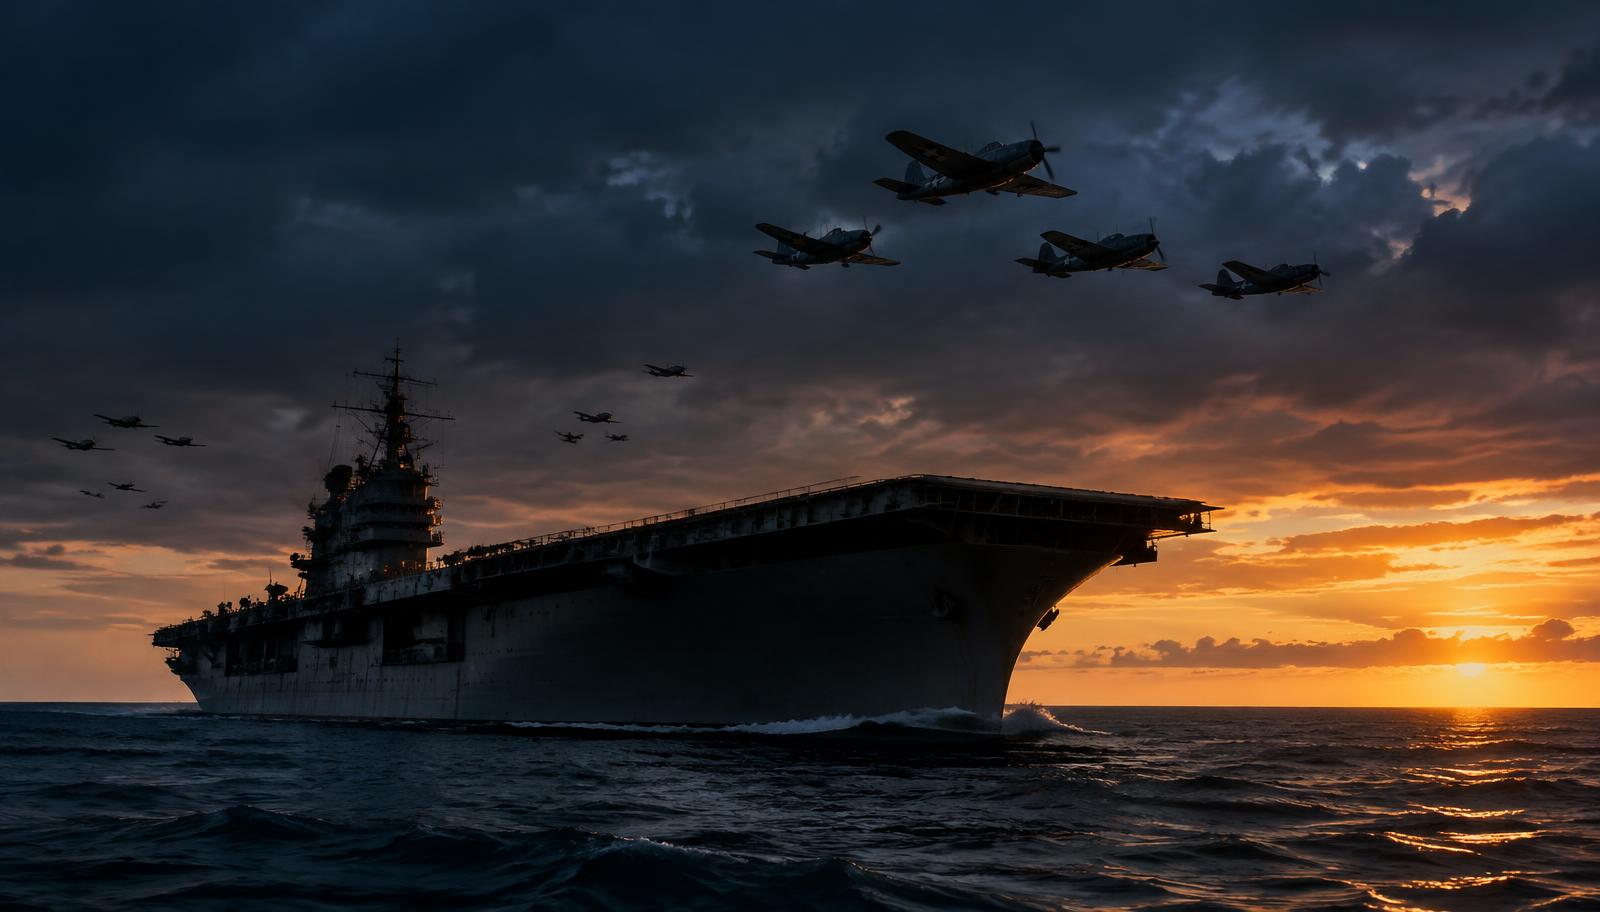
Carrier
Vision • Reinforcement • Air power
Aircraft carriers influence map control differently from surface ships. Their aircraft can reach distant areas rapidly, allowing the carrier to provide vision, pressure and reinforcement across the battlefield.
Do not measure carrier influence only by damage.
Early aircraft can reveal enemy deployment and identify destroyers, radar ships and dangerous positions before your surface fleet commits. Information allows the rest of the team to make better decisions.
Use aircraft to reinforce weak areas, scout important approaches and prevent enemy ships from moving freely. Aircraft presence can also force enemy formations to change course or abandon advantageous positions.
Do not spend the entire battle attacking one target simply because it is easy to hit. Think about where your next squadron will have the greatest strategic impact.
The carrier itself is also part of the map. Staying too far behind the fleet can make your aircraft response slow and reduce your influence. Moving too close exposes the carrier to enemy surface fire and torpedoes.
Constantly reposition according to the battle.
The best carrier play combines DAMAGE, VISION and REINFORCEMENT.
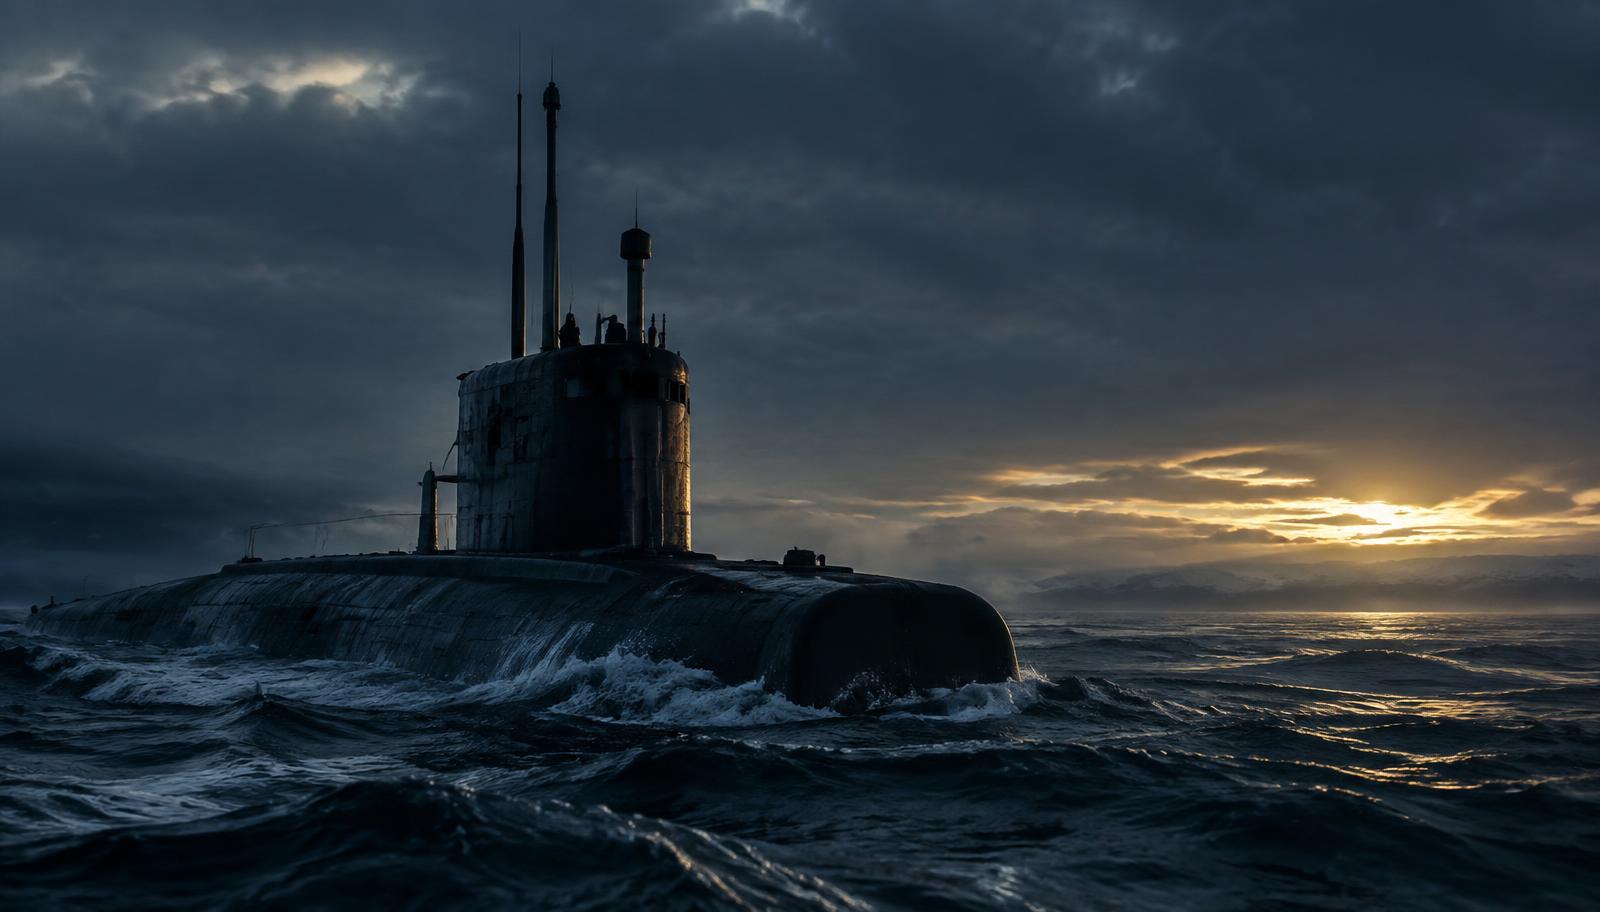
Submarine
Stealth • Denial • Information
Submarines control the map through uncertainty.
Their concealment, torpedoes, hydrophone and submarine surveillance allow them to influence areas without constantly exposing themselves. A submarine does not need to attack every target it detects. Its presence alone can change enemy behavior.
Use hydrophone and the minimap to understand where ships are moving. Identify isolated battleships, predictable routes and areas where the enemy may be forced to travel.
Torpedoes are not only a damage tool. They can deny routes and make enemy ships hesitate before entering an area.
Avoid predictable behavior. Repeatedly attacking from the same direction or constantly pinging can reveal your position and allow the enemy to hunt you.
When enemy ships begin searching for you, relocate rather than staying predictable.
A submarine should make the enemy wonder where the threat is.
A battleship that knows a submarine is somewhere ahead may slow down or change direction. A destroyer may become cautious around a torpedo lane. A cruiser may hesitate before pushing an island.
That uncertainty is map control.
After the classes
Dynamic map control
Map control is never permanent.
At the beginning of a battle, teams establish their initial zones of influence. As destroyers are spotted, cruisers relocate, battleships advance or retreat, and ships are destroyed, these zones constantly change.
A part of the map that is safe at minute three may become dangerous at minute six.
When a flank loses its vision, firepower or support, its effective control begins to disappear. When a team advances into an abandoned area, its zone of influence expands.
Think about the map as a constantly changing network of overlapping influence.
When you move
- You change what your team can see.
- You change where your guns can reach.
- You change which routes are safe.
- You change the enemy's available options.
- You may create or destroy a crossfire.
- You may open space for another teammate.
The key question is not:
“Where should I go?”
Instead ask:
“Where can my ship have the greatest influence without becoming trapped?”
Minimap awareness
Check the minimap constantly
Before moving:
- 01Where are my allies?
- 02Where are the enemy ships?
- 03Which enemies are unspotted?
- 04Where was the enemy DD last seen?
- 05Which radar ships are alive?
- 06Which flank is winning?
- 07Which flank is collapsing?
- 08Where can I create a crossfire?
- 09Where is the enemy likely to move next?
A strong player does not only react to what is visible on screen.
They anticipate what is about to happen.
Final SSC principle
“Map control is not about owning every square of the map.